Testing multiplayer games with artificial network conditions
When we are developing a multiplayer game that is intended to operate over the internet we inevitably have to deal with the reality of poor network conditions.
Adverse network factors, such as latency, jitter, and packet loss all have to be taken into account during development and the tolerance thresholds for these should not be an afterthought or something relegated to an "optimization pass".
Not testing with artificial network conditions makes it significantly more likely to have unexpected behaviors when the game is running over the internet.
This is challenging when we are iterating on our game locally - after all, all of the game instances are still running on the same network interface. It's reasonable to expect that there will be little to no latency between the clients, which is no good for our purposes - we want the network to misbehave.
Thankfully there are a number of tools that can simulate adverse network conditions.
For testing locally within the editor we suggest using Unity Transport - Simulator Tools along with clone-based workflow via ParrelSync.
For testing development builds with built-in artificial latency we suggest using Unity Transport Simulator Tools with some custom code to inject artifical conditions into the build.
For testing release builds we suggest using Clumsy if you're on Windows and Network Link Conditioner if you're on macOS or iOS. A scriptable alternative to Network Link Conditioner on macOS is dummynet, which offers great control and comes packaged with the operating system.
While artificial latency is great for simulating network conditions during development - it won't accurately emulate real world conditions. We recommend to test your game often on the targeted platforms and real live networking conditions.
How much lag/packet loss/jitter should we use?
It's not immediately obvious what the values and options we should enable in our network conditioning tools. All of them allow us to alter various aspects of network conditions such as latency, jitter and packet loss, though the names for concepts and the specific functionality varies between tools.
Determining which network conditions to test with is about what your users will encounter while playing your game, which will vary by region and by platform.
However, deciding what experience degradation is acceptable is dependant on game genre and on your game design decisions and other requirements. It's up to you to determine what's acceptable, there's no single rule for this.
What latency value to use for general development?
To test Boss Room, we used around 100ms-150ms for desktop platforms and around 200ms-300ms for mobile platforms and 5%-10% packet loss. These are just the values we used, the actual values you should test with will depend on your target platform and region.
It's valuable to test at 100ms, 200ms, 500ms, even 1000ms and potentially higher to make sure that we don't have weird race conditions that present at different latency ranges. The users in the wild WILL have those latencies.
Next we should determine how much chaos we want to introduce - that's largely based on the target platform and the typical network conditions that our users would experience:
- Is the game meant to be played from a good broadband internet connection?
- Is the game meant to run on mobile networks?
This question tells us if our users are likely to experience more jitter and packet loss - mobile networks aren'torious for having widely varying quality of connection. Mobile users also can experience frequent network changes during active application usage, and even though UTP has reconnection mechanism, it still requires our applicaton to factor in the possibility of an occasional lag burst.
What's important here is that testing purely with added delay and no packet loss and jitter is unrealistic. These values shouldn't be high - the baseline scenario isn't what we would call stress-testing, but they should be non-zero.
Adding jitter to the base delay value adds a layer of chaotic unreliability that would make our peers behave in a more natural way, allowing us to tweak our interpolation, buffering and other techniques to compensate for these instabilities.
Adding packet loss, apart from introducing even more effective delay to our system can also wreak havoc on our unreliable messages, thus allowing us to explore if we need more defensive logic surrounding our unreliable messages or if we should opt for a reliable message instead.
Different network conditions for different peers
Clumsy, Network Link Conditioner and dummynet are introducing changes on OS level, thus all the instances of the game that we open on our local machine would run under the same network conditions.
Don't forget to disable it once you're done debugging, else your network connection will feel slow!
QA teams run playtests with multiple people, each with their own system-wide conditioning settings settings. We can imitate this workflow locally by setting different per-peer network conditions. This approach isn't as reflective of reality as good QA tests on different machines, but it allows us to test these more peculiar scenarios locally.
There is a group of scenarios where we would want to test how the game behaves when a player with a different baseline connection quality from most of our other peers joins the game - an example of such case can be someone playing from a significantly remote location or connecting from a device that's on a mobile network.
In this case we would want to have an ability to set artifical conditions on a per-peer basis, which is possible with Unity Transport Simulator Tools.
Clone-based workflow (ParrelSync)
Simulator Tools effects only apply to editor instances and to debug builds, as such it matches well with clone-based workflow via ParrelSync.
Other tools should be used when testing release builds locally.
To combine the benefits of Simulator Tools Window with ParrelSync - create or open a clone of your project, open up the simulator tools window in both the main project and the clone and play with the settings to alter how network behaves for each individual peer. Remember to re-launch your game if you change the values in the tools window - the effects only take place when the UTP driver is being created.
With Simulator Tools we can't specify if inbound packets and outbound packets would experience different conditions - artificial latecny, jitter and packet loss are bi-directional.
Simulator Tools window settings won't be committed to version control and need to be set up manually on different editor instances.
Debug Builds
Debug builds do allow for the possibility of applying artificial network conditions to the UTP driver, but the Simulator Tools window itself only sets these values in the Editor.
To set the latency, jitter and packet-loss percentage values for develop builds we need the following code to execute before NetworkManager attempts to connect (changing the values of the paramters as desired):
#if DEVELOPMENT_BUILD && !UNITY_EDITOR
        NetworkManager.Singleton.GetComponent<UnityTransport>().SetDebugSimulatorParameters(
            packetDelay: 120,
            packetJitter: 5,
            dropRate: 3);
#endif
System-wide network conditioners
These tools are useful when we want to test builds as opposed to running multiple editor instances. it's also an option that works for release builds.
The solutions described below share some common features:
- They don't support latency variability over time, so in effect we can't imitate artificial jitter with them.
- They're system-wide, thus all the local instances of our game would run under the same network conditions.
- They allow to control the settings for sending and receiving separately.
There are some inherent limitations that come with the system-wide level of application of these tools - they're not ideal for local testing of more than two peers because we can't have peers with different network conditions between them (if that is important for the test ofcourse).
Some consoles offer similar functionality at the native SDK level. Check their documentation for details.
Clumsy (Windows)
dummynet is another option that can be used on Windows, however there are known issues when running it on Windows 10 related to signed driver enforcement setting. As such we found Clumsy to be a good default option on Windows.
Follow the installation instructions on the official Clumsy Webpage.
To test the builds with Clumsy:
- Run Clumsy
- Run instance 1
- Run instance 2
- At any point you can adjust Clumsy settings and observe the changes in gameplay fidelity
Settings quickstart
- Lag - that's our primary lever to control artifical latency
- Drop - that's our packet loss
- Throttle, Out of Order, Duplicate, Tamper - these will manifest as additional latency but should be automatically handled for us by Netcode.
- Since Clumsy doesn't have Jitter functionality - we can emulate jitter (inconsistnent latency over time) by playing with these parameters. Their cumulative effect would produce artifical latency fluctuations.
For further reading please refer to the Details section of the Clumsy Webpage - the settings explanation there goes more into the actual mechanics of each individual setting.
Network Link Conditioner (macOS)
Apple's Network Link Conditioner can be downloaded from the Additional Tools for XCode page. This page requires logging in with Apple developer account.
Download the version that's appropriate for your XCode version and then run the .dmg file. Navigate to the Hardware folder and install the Network Link Conditioner panel.
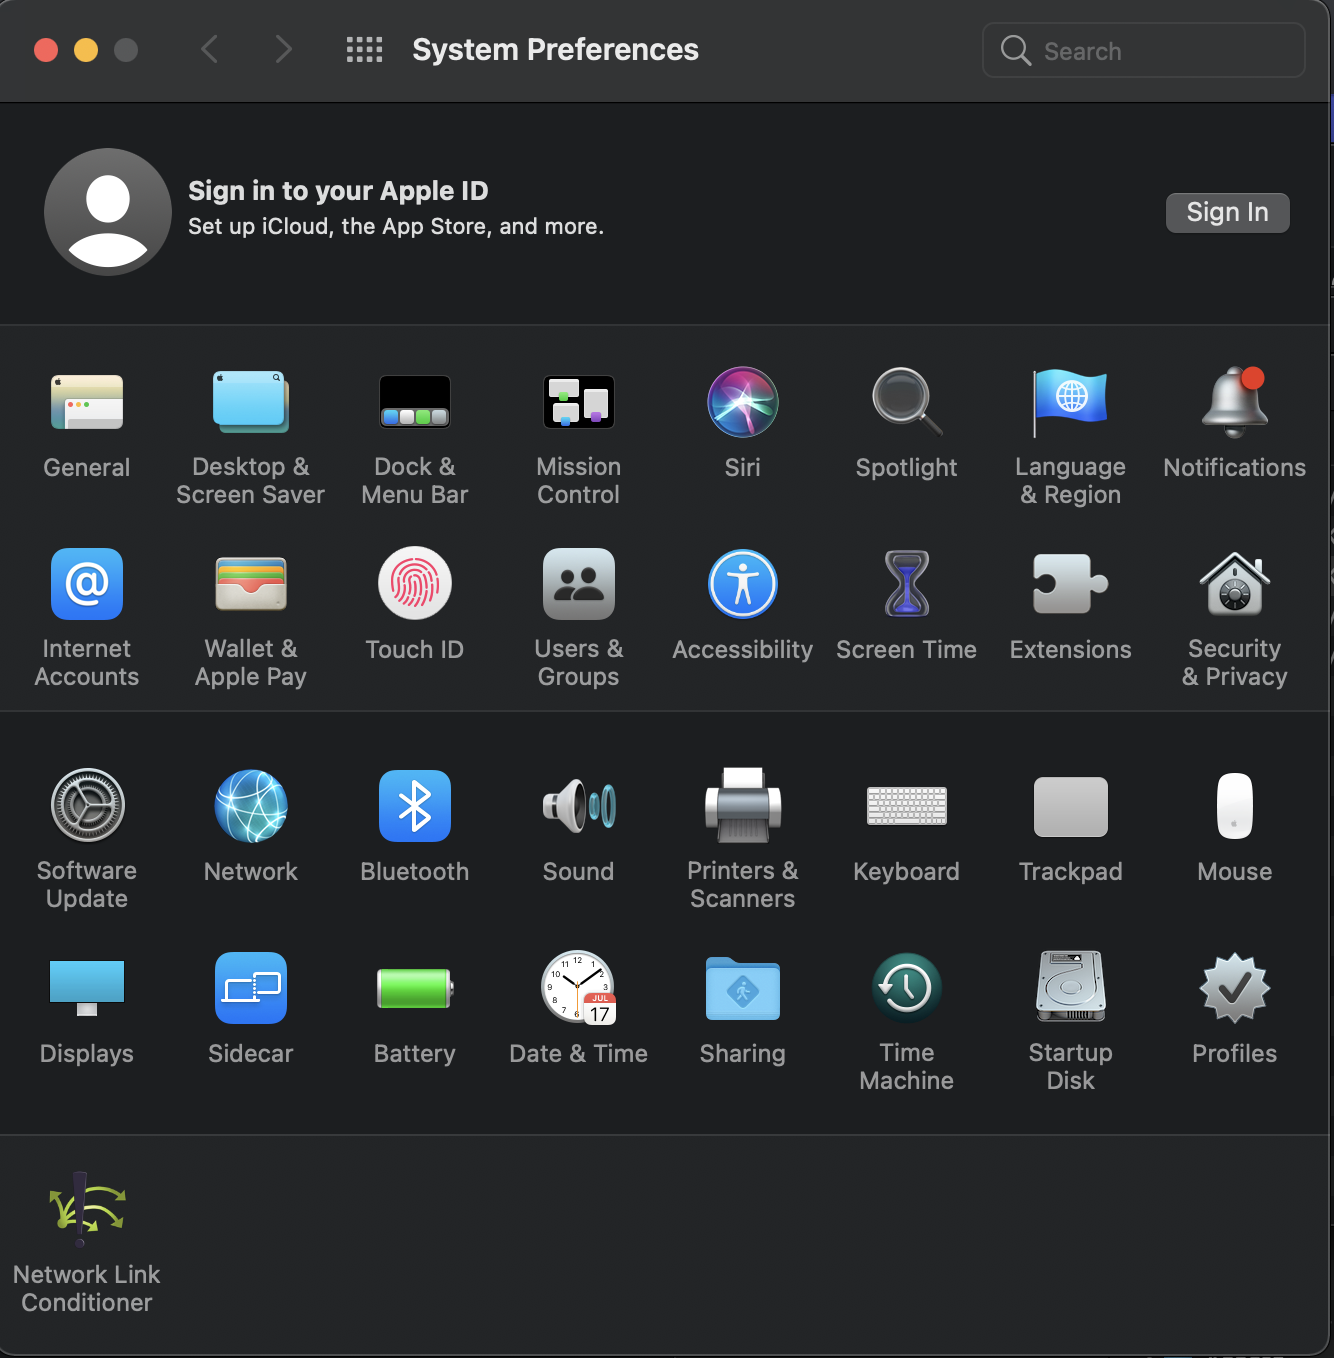
After that you will be able to find Network Link Conditioner in the System Preferences panel of your Mac:
To test the builds with Network Link Conditioner:
- Run Network Link Conditioner
- Run instance 1
- Run instance 2
- At any point you can adjust Network Link Conditioner settings and observe the changes in gameplay fidelity
Settings quickstart
In order to get to the settings we need to go into the Manage Profiles menu and either pick one or create our own.
- Downlink and Uplink Bandwidth are useful for testing how our game would behave if it's starved for bandwidth, but generally tightening it too much would gradually degrade any networked game.
- Downlink and Uplink Packets Dropped % is exactly what it seems - packet loss percentage.
- Downlink and Uplink Delay are our levers for controling artificial latency
Network Link Conditioner (iOS)
Apple's iOS also has it's version of Network Link Conditioner.
Your iOS device needs to be enabled for development, then you'd be able to find Network Link Conditioner in Settings > Developer > Network Link Conditioner.
dummynet, dnctl and pftcl (macOS)
dummynet is a traffic shaper, delay and bandwidth manager utility that comes standard with the macOS.
- dnctl is the command-line interface to operate the
dummynetutiity. - pfctl is the control interface for the internal firewall, which we can make obey dummynet rules, thus creating artificial network conditions on our host.
To enable artificial conditions we need to create a pf.conf file in our user home directory with the following contents:
#Testing udp, such as most realtime games and audio-video calls
dummynet in proto udp from any to any pipe 1
dummynet out proto udp from any to any pipe 1
Then we need to run the following commands in the console:
sudo dnctl pipe 1 config delay 40 plr 0.1
sudo dnctl show

sudo pfctl -e
sudo pfctl -f pf.conf
This set of commands enables dummynet, but when we are done testing - we should disable it, otherwise our system would continue to experience these artificial network conditions!
To disable dummynet execute the following:
sudo dnctl -q flush
sudo dnctl show

sudo pfctl -e
sudo pfctl -f /etc/pf.conf
After you start dummynet, testing the builds is as easy as launching several instances of your game.
Settings quickstart
bw- this parameter controls bandwidth.dnctl pipe 1 config bw 40Kbit/swill set our bandwidth to 40 Kbit per second.delay- this parameter is our artifical latency.dnctl pipe 1 config delay 100will set our artifical latecny to 100 ms.plr- this parameter is our packet loss percentage.dnctl pipe 1 config plr 0.1will set our packet loss percetage to 10%
You can chain these parameters to achieve a combination of these settings that will apply all of them at once:
dnctl pipe 1 config bw 40Kbit/s delay 100 plr 0.1